How to image the planets with a telescope and camera
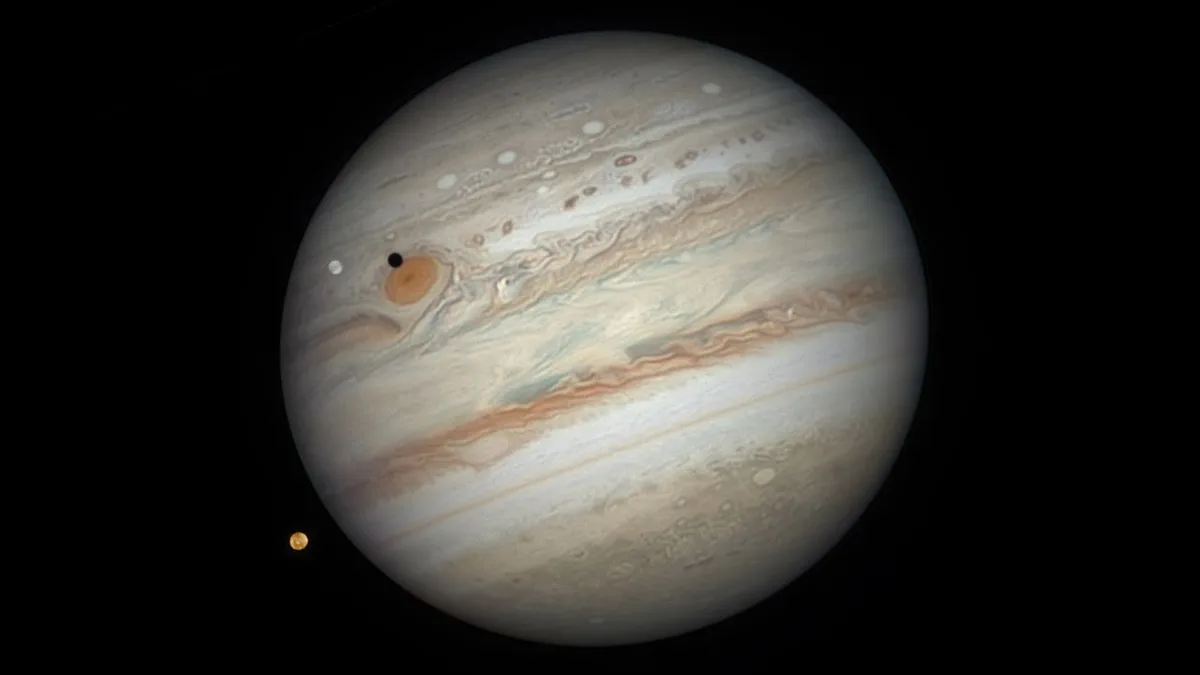
The night sky holds endless wonders, but few experiences match the thrill of photographing planets in vivid detail.
With even a modest telescope and camera setup, you can capture cloud bands on Jupiter , the majestic rings of Saturn or the polar caps of Mars — images once the preserve of professional observatories.
This technique, known as lucky imaging, records short video clips at high frame rates to freeze fleeting moments of steady air, then stacks the sharpest frames into one crisp photo.
No advanced skills are required to start.
Whether you own a modest backyard telescope or are shopping for your first planetary camera , this guide provides everything needed to succeed.
You will learn a complete workflow that takes you from set-up to finished image, explore why certain planets are easier than others and find answers to practical questions that beginners often ask.
Clear skies, patience and practice are your only limits.
Soon you will be creating gallery-worthy shots right from home.
Step-by-step tutorial: Imaging planets with a telescope and camera Planetary imaging relies on video capture rather than single long exposures.
Follow these 12 steps for reliable results with most setups.
Planning observations in advance is essential! 1.
Check weather conditions (Image: © Damian Peach) Check conditions and plan your target.
Use a planetarium app such as Stellarium or a site like TimeAndDate.com to confirm the planet is visible and high in the sky.
Review weather forecasts and seeing predictions on ClearDarkSky.com or Windy.com.
5News aggregated this summary from the outlet’s public feed. The full article, with all the context, is on www.space.com — the content belongs to Space.com.